
For Aprilia ALL Models With Digital Trip / ODO METER ALL YEARS Motorcycle 1-6 Level Gear Indicator Digital Gear Meter
+ €10.49 Shipping


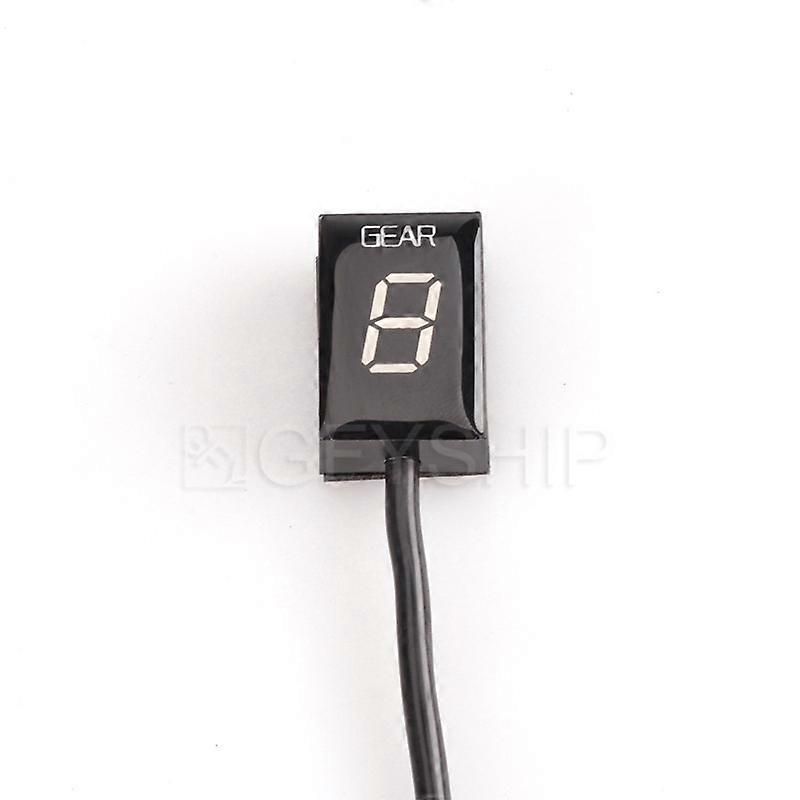
For Aprilia ALL Models With Digital Trip / ODO METER ALL YEARS Motorcycle 1-6 Level Gear Indicator Digital Gear Meter
- Brand: Unbranded
For Aprilia ALL Models With Digital Trip / ODO METER ALL YEARS Motorcycle 1-6 Level Gear Indicator Digital Gear Meter
- Brand: Unbranded
Save €10.00 (5%)
RRP
Save €10.00 (5%)
RRP
We accept the following payment methods
Description
For Aprilia ALL Models With Digital Trip / ODO METER ALL YEARS Motorcycle 1-6 Level Gear Indicator Digital Gear Meter
- Brand: Unbranded
- Category: Remote Control Motorcycles
-
Colour: Blue Light
- Fruugo ID: 312872403-698475033
- EAN: 592080426318
Product Safety Information
Please see the product safety information specific to this product outlined below
The following information is provided by the independent third-party retailer selling this product.
Product Safety Labels

Delivery & Returns
Dispatched within 3 days
-
STANDARD: €10.49 - Delivery between Mon 22 December 2025–Tue 30 December 2025
Shipping from China.
We do our best to ensure that the products that you order are delivered to you in full and according to your specifications. However, should you receive an incomplete order, or items different from the ones you ordered, or there is some other reason why you are not satisfied with the order, you may return the order, or any products included in the order, and receive a full refund for the items. View full return policy
Product Compliance Details
Please see the compliance information specific to this product outlined below.
The following information is provided by the independent third-party retailer selling this product.
Manufacturer
The following information outlines the contact details for the manufacturer of the relevant product sold on Fruugo.
- Govee Moments Limited
- Govee Moments Limited
- Room 023, 9/F, Block G, Kwai Shing Ind Bldg (Stage 2) 42-46 Tai Lin Pai Road, Kwai Chung, Nt
- Hong Kong
- HK
- 999077
- govee2020@outlook.com
- 085244096945
Responsible Person in the EU
The following information outlines the contact information for the responsible person in the EU. The responsible person is the designated economic operator based in the EU who is responsible for the compliance obligations relating to the relevant product sold into the European Union.
- Van Lavazza
- Y & H S.R.L.
- Via Gravina 21 MT matera
- Puglia
- Trani
- IT
- 75100
- itlyhsrl@gmailcom
- 0039 3917722149