Description
Note: If the transfer effect is not good, tattoo transfer machine has no quality problem, but the quality of transfer paper is not good, it will directly lead to poor effect or wrinkled paper, paper stuck, to analyze whether the quality of transfer paper is qualified.
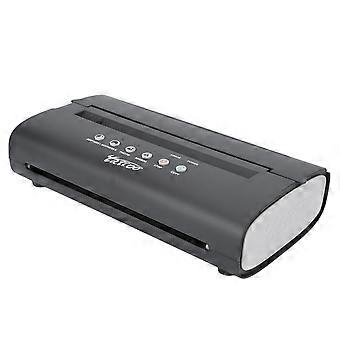
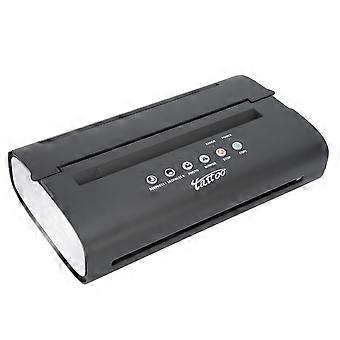
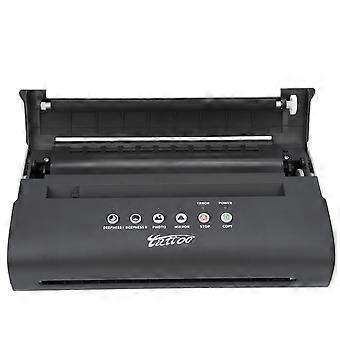
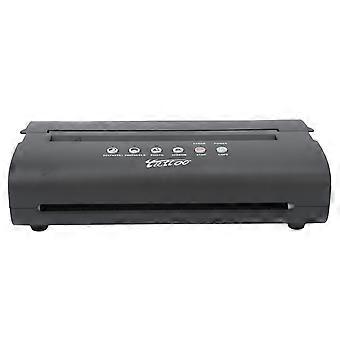
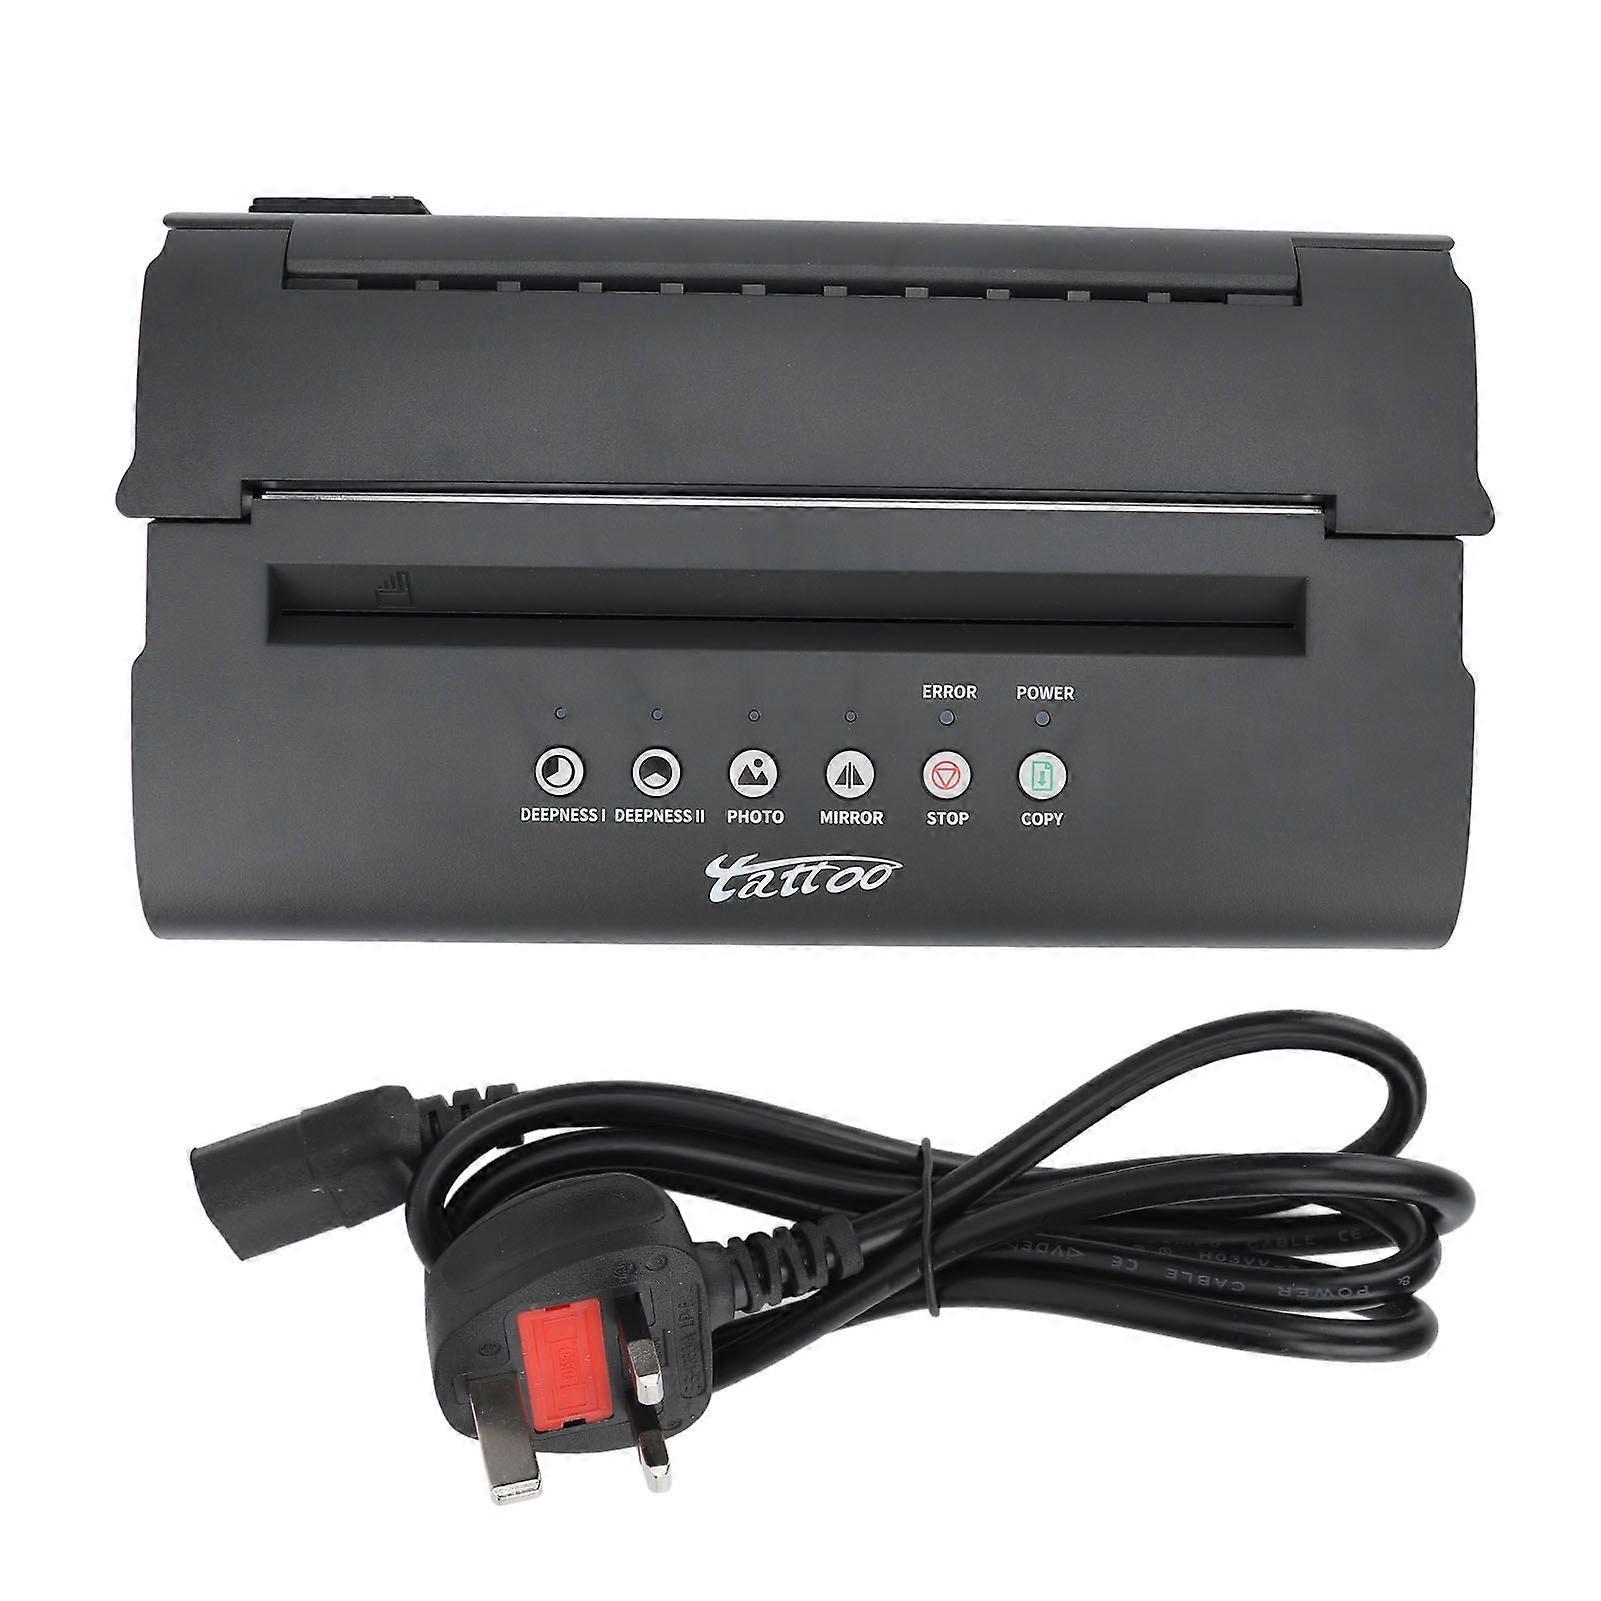
specification: Item Type: Tattoo Transfer Stencil Machine_x000D_Material: ABS, electronic components_x000D_Voltage: 100-240V / 50-60Hz/1.2A_x000D_Scanning Mode: CIS _x000D_Effective Scan Width: Approx. 210mm / 8.27in_x000D_Scanning Resolution: Horizontal: 8dot/mm, vertical: 7.7line/mm_x000D_Document Type: FINE/PHOTO _x000D_Document Size: A5 to A4_x000D_File Thickness: Approx. 0.06mm-0.15mm _x000D_Recording Mode: TPH _x000D_Effective Printing Width: 210mm / 8.27in_x000D_Power Consumption: Standby 5W _x000D_Working Environment Temperature: 5 to 35 _x000D_Relative Humidity: 20% to 80% _x000D_Size: Approx. 293 x 171.5 x 72mm / 11.54 x 6.75 x 2.83in_x000D_Weight: Approx. 1.2kg / 2.65lb_x000D_Different key combinations of different transfer modes. _x000D_Depending on the type of manuscript, you can set different key combinations on the panel, choose different transfer modes. _x000D_Key Combination:_x000D_PHOTO: Pure black fine line manuscript light off, pure black block manuscript light off, lighter gray manuscript light on, darker gray manuscript light on._x000D_DEEPNESS 1: Pure black fine line manuscript light off, pure black block manuscript light on, lighter gray manuscript light off, darker gray manuscript light on._x000D_DEEPNESS 11: Pure black fine line manuscript light on, pure black block manuscript light off, lighter gray manuscript light on, darker gray manuscript light off._x000D_Note: 1. In order to obtain better transfer effect, the machine should rest for several minutes after 1 to 2 sheets of paper are transferred. _x000D_2. In order to maintain the machine, please do not transfer it continuously. It is recommended to cool it after use. _x000D_3. Tattoo template machine is not suitable for complex tattoo shader patterns, can only display a single tattoo effect._x000D_It is recommended to transfer lines and simple patterns for best results. _x000D__x000D_1. Panel Description: _x000D_DEEPNESS I: The indicator lights up and the manuscript concentration is set to depth I at the same time as DEEPNESS II _x000D_The button indicator light will go off. _x000D_DEEPNESS II: The indicator lights up, the manuscript concentration is set to depth II, and DEEPNESS I _x000D_The button indicator light will go off. _x000D_PHOTO: Press this key to switch between picture and fine. If it is picture, the indicator will light up. _x000D_MIRROR: Press this key to switch between mirror copy and ordinary copy. MIRROR is used by default, if it is a mirror copy, the light will be on. _x000D_STOP: Stops the transfer. _x000D_COPY: After inserting the manuscript, press this key to start transferring. _x000D_POWER: Power indicator, the indicator light will be on after the machine is powered on. _x000D_ERROR: Indicates the error indicator. The indicator is on when the thermal sensor overheats. _x000D__x000D_2. Adjust the scanning depth and transfer depth of the machine _x000D_You can adjust the scan depth and print depth of the machine according to actual needs. The steps are as follows: _x000D_(1) Long press the STOP button for 3 seconds, the machine drops a sound, and the indicators are all on. _x000D_(2) Press STOP to adjust the scanning depth. Drop 1 is the deepest and beep 7 times is the shallowest. _x000D_(3) Press COPY to adjust the transfer depth, drop 1 sound transfer the shallowest, beep 7 times is deepest. _x000D_(4) Long press the STOP button for 3 seconds, the machine will beep, and the indicator light will recover, that is, the scanning and printing depth will be completed adjust._x000D__x000D_3. How to calibrate the machine _x000D_Machine in the brightness of the image sensor and thermal sensor on the surrounding environment and temperature are very sensitive, will change with the passage of time and natural, copy image and the original image color difference is bigger, please scan the calibration, operation steps are as follows: (1) press the "STOP" button for 3 seconds, can hear the "beep" sound to the machine, all the lights lit up. (2)Insert a flat PIECE of A4 paper into the paper feeder and press the "MIRROR" key to scan and calibrate. (3) Automatic paper feeding during the calibration process, and complete scanning calibration after spitting out a complete white paper. (4) Press the "STOP" button for 3 seconds, hear the machine "beep", all indicators return to normal, that is, the calibration is completed. _x000D_4. Usage _x000D_(1) Power on and turn on the power switch. _x000D_(2) Open the machine paper bin and turn over the board, and put the machine transfer paper from the transfer paper input port. _x000D_(3) Place the manuscript pattern face down through the manuscript input. _x000D_(4) Set the improved printing mode, press the st
-
Fruugo ID:
417975765-881371736
-
EAN:
6113584977027
Product Safety Information
Please see the product safety information specific to this product outlined below
The following information is provided by the independent third-party retailer selling this product.
Product Safety Labels

Safety Warnings:
-
Not suitable for children under 36 months
-
Choking Hazard
-
Adult supervision recommended
Manufacturer Part Number:
1416220026613