Popis
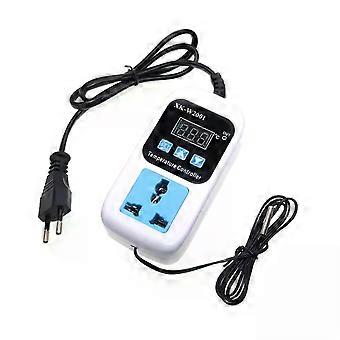
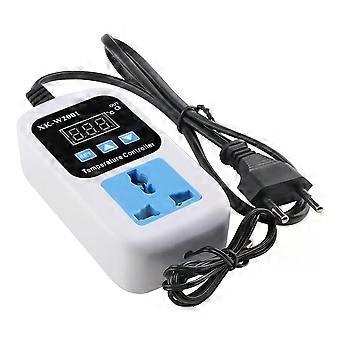
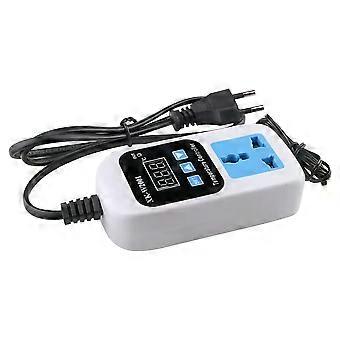
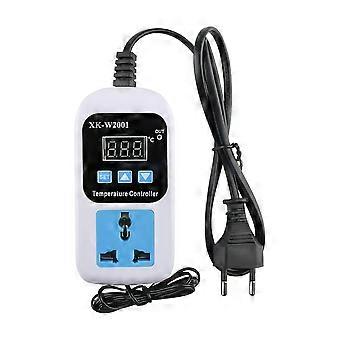
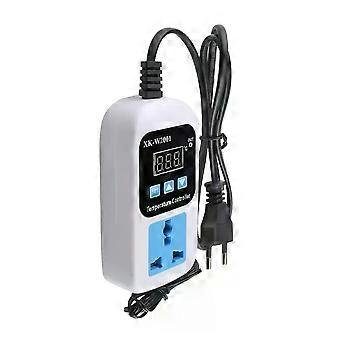
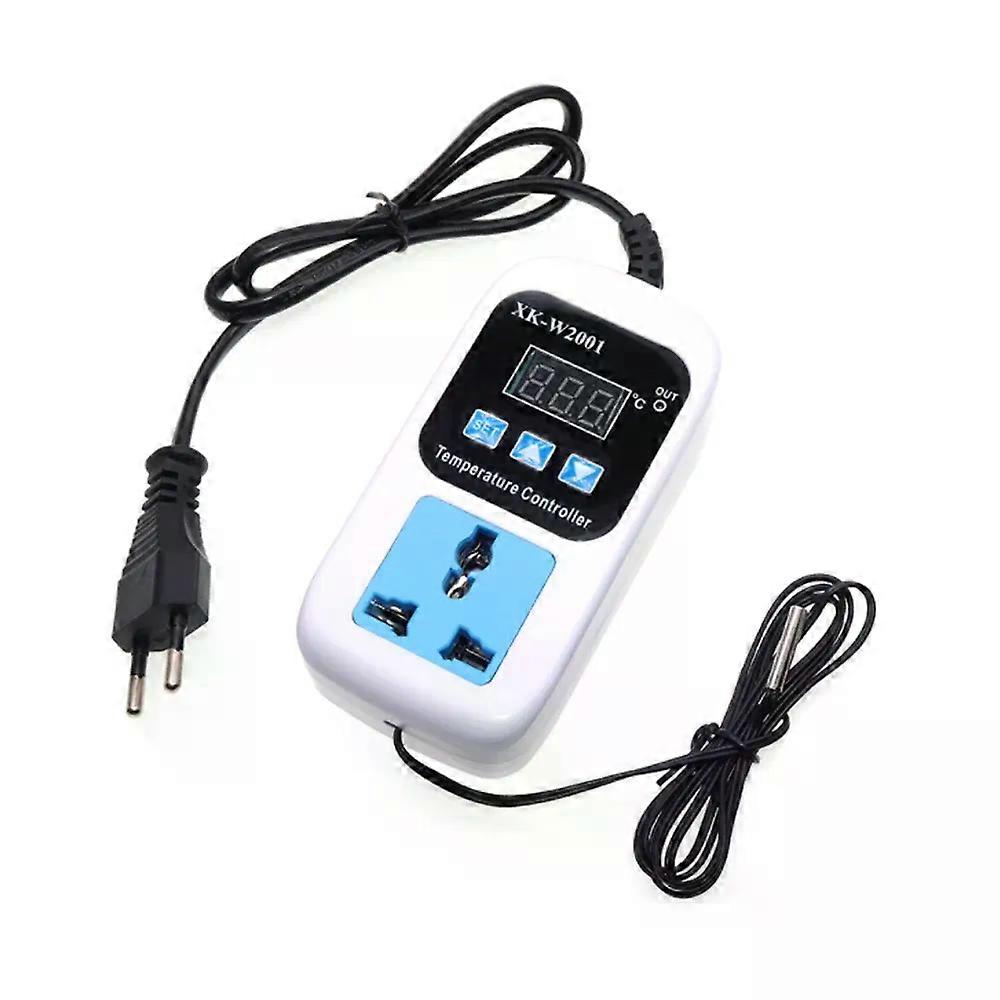
XK-W2001 Digital Temperature Humidity Controller Socket AC 110-220V Thermostat Regulator Socket Outlet EU plug With NTC Sensor
XK-W2001 Digital Temperature Humidity Controller Socket AC 110-220V Thermostat Regulator Socket Outlet EU plug With NTC Sensor
Product Selling Points
1Widely used
2: Beautiful appearance
3Convenient and simple
4: 1M waterproof wire probe
5:Easy to set up and understand
Product name:Microcomputer temperature controller
Temperature measurement range:-50~110~c
Temperature control range:-50~110~c
Temperature measurement precision:0.2
Temperature control accuracy: 0.1 C
Measurement input: NTC10K L=1 meter waterproof probe
Input power:110V-220V
Output power: 1500W
Output type: direct output
Output Capacity:Maximum 10A
Dimension:120*59*30mm
Code and Function Introduction
PO setup startup temperature
Press the setup button to enter the internal menu, the default display is P0, press the setup button again to set the desired start temperature by pressing the up and down buttons.
P1 set stop temperature
Press the setup button to enter the internal menu, the digital display is P0, switch to P1 by pressing the up and down buttons, press the setup button again and set the desired stop temperature by pressing the up and down buttons.
P2 Setting Temperature Correction
The same way to enter the internal menu, switch to P2 by up and down buttons, press the setup key again, set the desired calibration temperature by up and down buttons. In the setting, if the detected temperature value is 0.5 larger than the actual temperature value, then the calibration temperature to be set is -0.5. If the detected temperature value is 1 smaller than the actual temperature value, the calibration temperature to be set is 1. Detected temperature calibration temperature = actual temperature.
P3 Setting delayed start
The same way into the internal menu, through the up and down keys to switch to P3, once again press the setup key, through the up and down keys to set the desired delay time (in minutes). Delay start is generally used for compressor refrigeration, if used in refrigerators and freezers, this value needs to be set, according to the size of the compressor back to the general set value of 3-6 minutes, if you are not used to control the compressor or do not need to delay the function, directly skip this item!
Heating mode setting mode
Setting: start temperature < stop temperature (the program automatically determines the working mode as heating mode)
Setting method.
Press the setup button to enter the internal menu, set the start temperature by setting the P0 value, set the stop temperature by setting the P1 value.
Use Case: Control water heater, heating up to 50, stop temperature by setting P1 value.
Control the water heater, heating to 50 to stop, the temperature falls back to 40 to start heating again, how to set?
Step 1: Make sure the working mode is heating mode, start temperature < stop temperature.
Step 2: Press setup button to enter internal menu, select P0 and press setup button, set P0 value to 40.
Step 3:Press setup key to enter internal menu,select P1 and press setup key,set P1 value to 50.
Cooling mode setting method
Setting key: Start temperature > Stop temperature (the program automatically determines the working mode as cooling mode)
Setting method.
Press setup key to enter internal menu, set start temperature by setting P0 value, set stop temperature by setting P1 value.
Use Case: Control the cabinet radiator to dissipate the heat.
Control cabinet radiator, heat dissipation to 26 to stop, the temperature rises to 30 to start the radiator again, how to set?
Step 1: Make sure the working mode is cooling mode, start temperature > stop temperature.
Step 2:Press Setup to enter the internal menu, select P0 and press Setup to set the P0 value to 30.
Step 3:Press setup key to enter internal menu, select P1 and press setup key, set P1 value to 26.
Tips.
When setting the heating mode, if the set temperature value is inverted accidentally, the output indicator will not light up and the load will not work, if the above situation occurs after the setting is completed, you can check whether the set temperature value is inverted or not.
List
1*Temperature controller
_x000D_
-
Fruugo ID:
405837021-860559656
-
EAN:
7709461275486
Informácie o bezpečnosti produktu
Prečítajte si informácie o bezpečnosti produktu špecifické pre tento produkt uvedené nižšie
Nasledujúce informácie poskytuje nezávislý maloobchodný predajca tretej strany, ktorý predáva tento produkt.
Bezpečnostné štítky produktu

Bezpečnostné upozornenia:
WARNING! TO AVOID DANGER OF SUFFOCATION,KEEP AWAY FROM BABIES ANDCHILDREN. DO NOT USE IN CRIBS/BEDSOR PLAY PENS.THIS BAG IS NOT ATOY.
Ingrediencie:
Octinoxate 6.2864%
Číslo dielu výrobcu:
EW301152
Číslo modelu:
EW858396
Sériové číslo:
EW003632
Číslo šarže:
EW001718